
How to build a PC step by step guide
Building a PC from scratch might seem like a daunting task, but it’s a lot easier than you might think. Not to mention, it can save you a lot of money in the long run compared to buying a pre-built machine. Plus, there’s something satisfying about putting together all the components and seeing your creation come to life. In this blog post, we’re going to cover all of the basics of building a PC from the ground up. Another thing to mention is that you can even make some money if you master this skill. So, whether you’re a complete beginner or just need a refresher, this guide will cover everything you need to know to get started.
Overview:
The basics of PC building
Before we start it is important that you know the basic Componets and their tasks. It helps a lot to understand what is going on on the inside.
| Component | Description |
|---|---|
| Motherboard | Main circuit board that connects and allows communication between all other components |
| CPU | Central Processing Unit, the brain of the computer that carries out instructions and performs calculations |
| RAM | Random Access Memory, temporary storage for data that the CPU needs to access quickly |
| Storage | Hard Drive or Solid State Drive, stores the operating system, applications, and files |
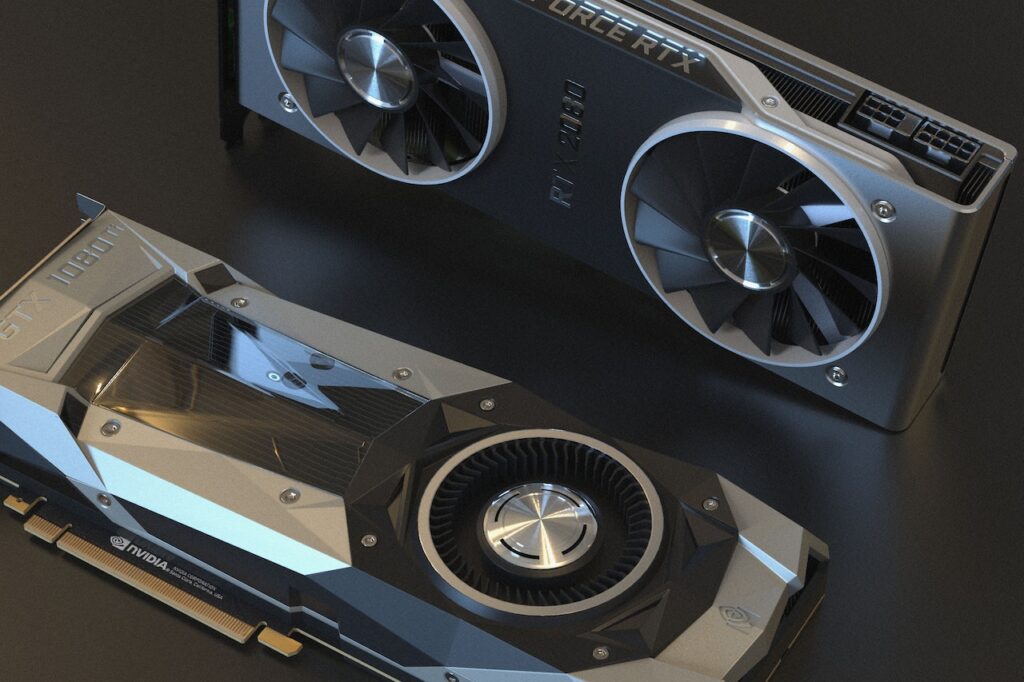
| Graphics Card | Handles the processing and rendering of images, videos, and games |
| Power Supply Unit | Provides power to all components in the PC |
| Case | Enclosure that houses and protects the components |
Preparing for your PC build
Before diving into the actual assembly process, it’s important to take some time to plan and gather all the necessary components. Start by determining the purpose of your PC build – whether it’s for gaming, video editing, or general use – and choose components that match your needs and budget. Doing research and reading reviews can help you make informed decisions when selecting parts. Additionally, make sure you have all the necessary tools and accessories, such as screwdrivers, thermal paste, and cable ties, to ensure a smooth assembly process. By being well-prepared, you’ll be able to avoid unexpected complications and build a PC that suits your needs.
Another important thing to know is that not all parts are compatible with each other. If you want to know if your parts are compatible check out on of this website. It is also recommendet to check for bootlenecks or the performance in general.
Step-by-Step PC Assembly Guide
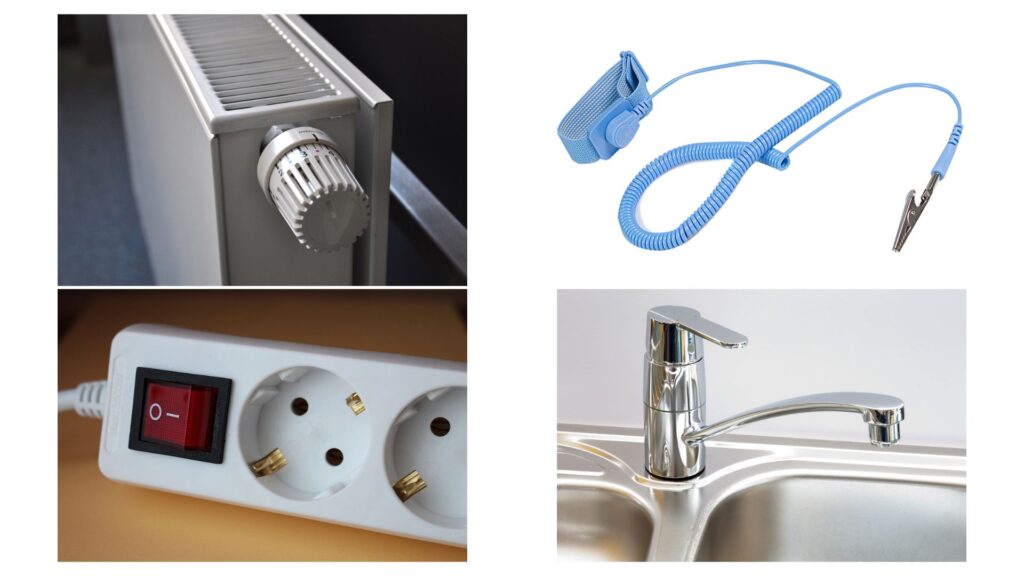
To protect your parts from damage, it is important that you ground yourself to get rid of your static electricity. If you want to play it save you can do this with an anti-static wristband or simply by touching a tap, the heater or the protective contact of a socket.
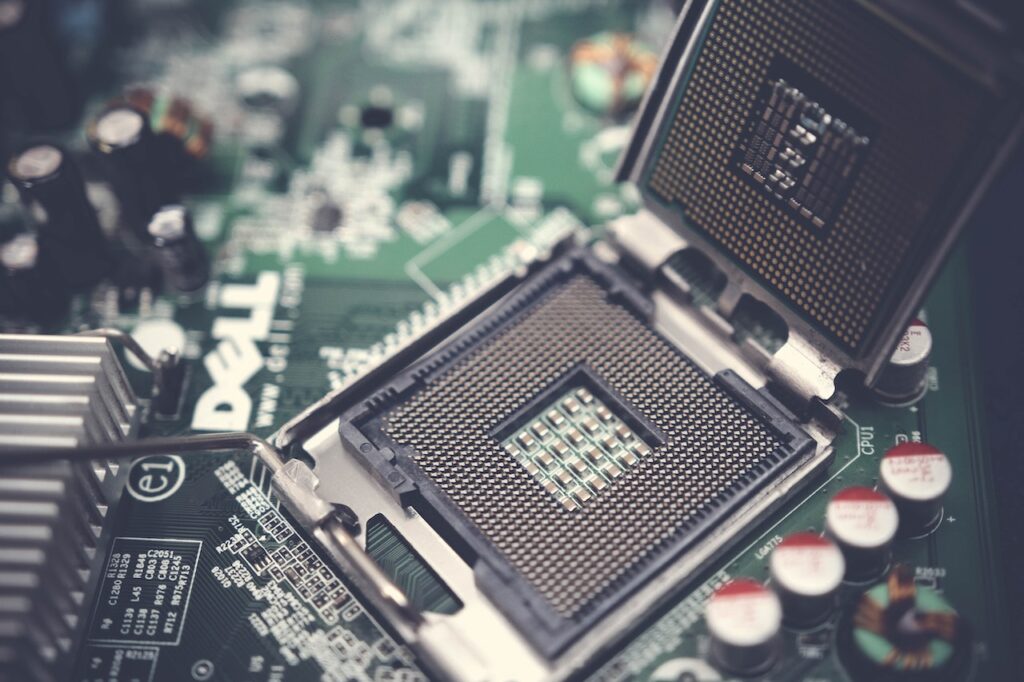
Step 1: CPU
To install a CPU on a motherboard, carefully align the CPU with the socket’s notches or markers. Gently lower it into place and secure it by lowering the retention arm or lever. Be really careful with the alignment so you don’t cause any damage

Step 2: RAM
To install RAM on the motherboard, align the RAM stick with the slot make sure to control that the notch lines up, and then insert it until it clicks into place. It does matter in what slots you put in your RAM check the motherboard manual.

Step 3: CPU Cooler
To install a CPU cooler, put thermal paste on to the CPU for better heat transfer, align it with the CPU socket, secure it using the provided brackets or screws and don’t forget to plugin the Fan Cable. Make sure that you choose the right CPU cooler.

Step 4: Case
To install the motherboard in the case, align it with the standoffs and secure it using screws. Before that click the I/O Shield into place.
Step 5: Power Supply
To install the power supply in the case, place it in the designated area and secure it with screws. Now connect the cables to the Motherboard, CPU, Graphics Card as well as you storage.
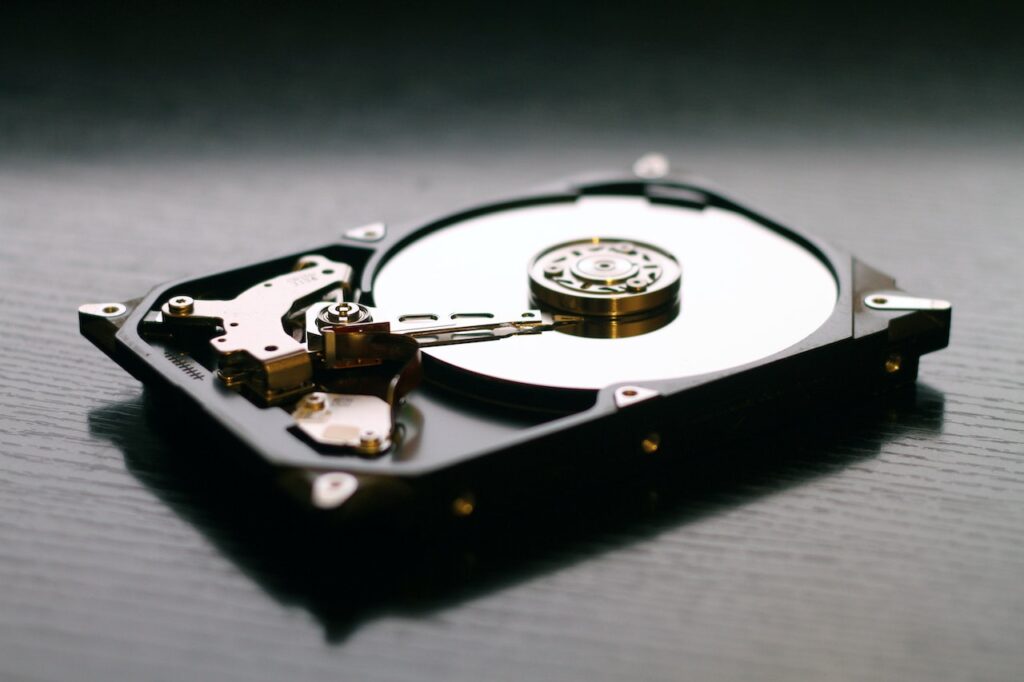
Step 6: Storage
Now, it’s time to install your storage into the case. If you have an M.2 SSD, screw it onto the designated spot on the motherboard. For traditional storage units, connect them using a SATA cable to the motherboard.
Step 7: Graphics Card
To install the graphics card, align it with the PCIe slot on the motherboard and firmly insert it until it clicks into place. Secure the card by screwing in the mounting bracket. Connect the power supply to the graphics card using the appropriate cables, you might need some adapters or more powerful Power Supply.
Step 8: Connect the Case
To connect the case with the motherboard, locate the front panel connectors on the motherboard. Then, match the corresponding cables from the case (such as power switch, reset switch, power LED, and HDD LED) to the appropriate pins on the motherboard. Ensure a secure and snug connection for each cable. Lookup your Manual for exact details.
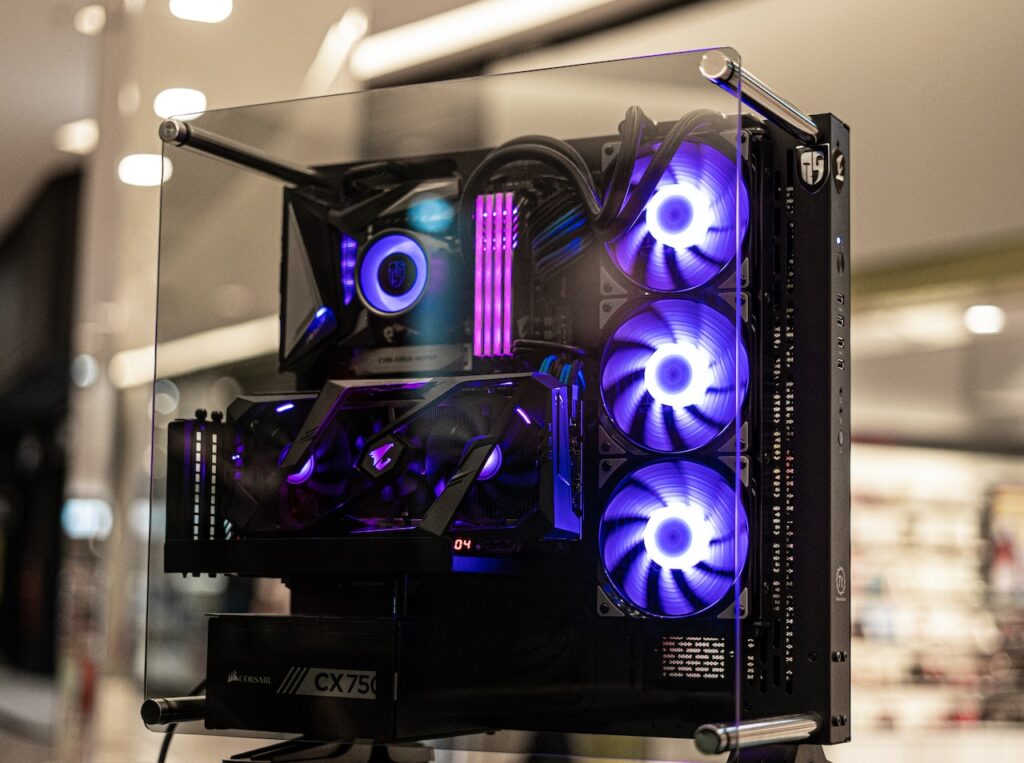
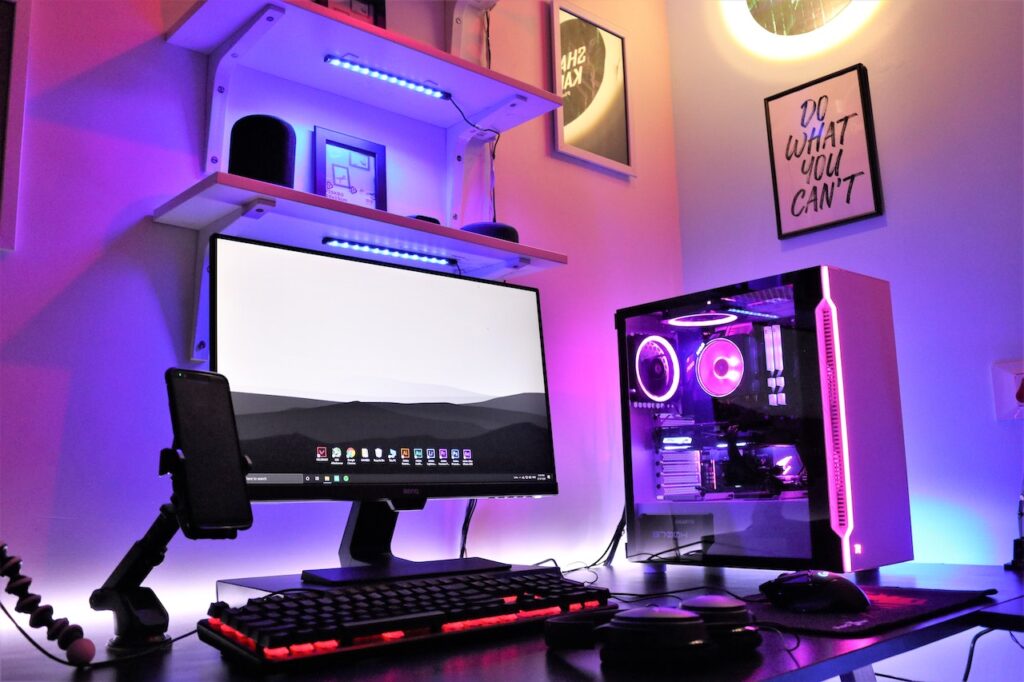
Enjoy your freshly built PC and power it on for the first time
Now your Pc should be running fine. With your PC up and running, connect a monitor to enjoy the first glimpse of your creation. You can also plug in a mouse and keyboard to explore the BIOS settings, ensuring that your PC recognizes all components correctly. While this step is optional, it allows you to verify proper hardware detection and configuration.If not keep reading
Troubleshooting and Common Issues
Encountering an issue where your newly built PC won’t turn on can be frustrating. Before diving into complex solutions, start with these simple steps. Verify if the power supply switch is turned on. It may seem obvious, but sometimes it’s easy to overlook this step. For more detailed troubleshooting steps and additional solutions, check out the article below, it will provide you with comprehensive guidance and troubleshooting tips to address common issues that may prevent your PC from turning on.
Finishing Touches and Setup
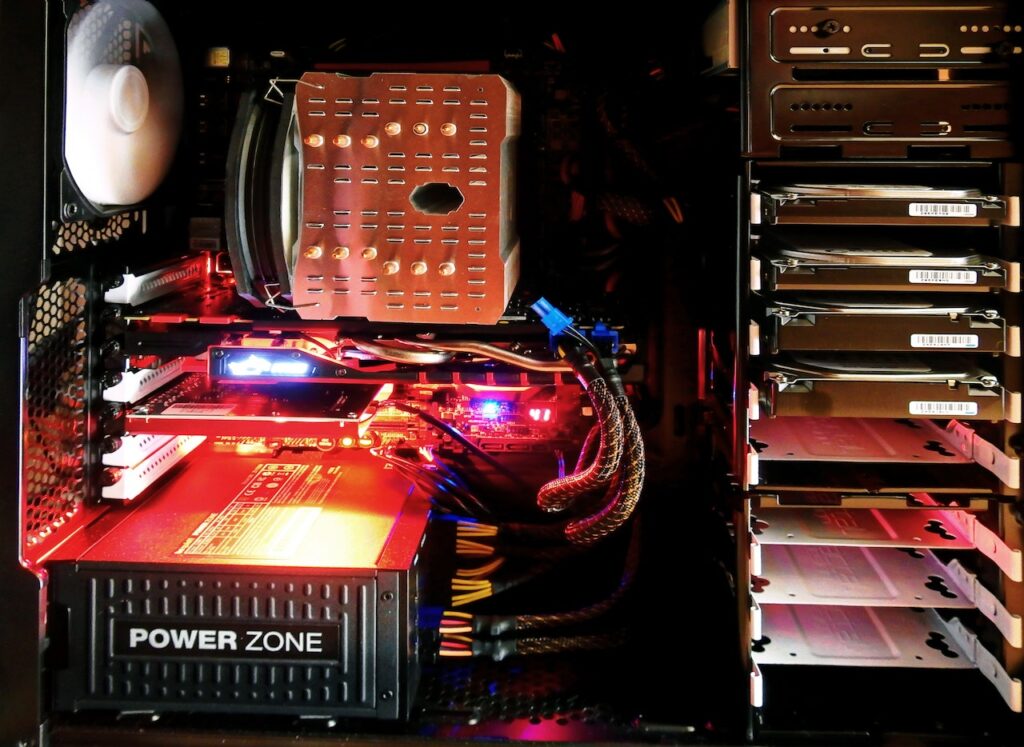
Cable Management
Cable management in a PC build may not seem like a top priority, but it can actually have a significant impact on the performance and longevity of your system. Proper cable management can improve airflow, prevent heat buildup, and reduce the risk of damage to sensitive components. To start, plan out your cable routing ahead of time and choose cables that are the appropriate length for your case. Bundle your cables together with zip ties or Velcro straps, and use mounts or clips to secure them to the case. Finally, take the time to neat and tidy your cables so they don’t obstruct airflow or get tangled up in each other. With just a bit of effort, you can achieve a clean and organized setup that will enhance the performance and stability of your PC build.
Install Windows

Firstly, select the Windows version you want to install and purchase the license key. Next, download the Windows Media Creation Tool and save it to the USB drive. Insert the USB into your new PC and restart the computer, pressing the key to enter the boot menu. Select the USB drive as the boot device and follow the prompts to begin the installation process. Make sure to select the correct partition to install Windows on and follow the instructions to finish the installation. Once complete, your new PC will be running Windows and ready for use.
Conclusion
In conclusion, building your own PC can be a daunting task for beginners, but it is definitely worth the effort if you are willing to put in the time and effort to learn. Not only will you save money, but you will have the freedom to customize your PC to your specific needs and preferences. Building your own PC also provides a sense of satisfaction and accomplishment that cannot be found when purchasing a pre-built machine. By following the steps outlined in this guide, you should be able to confidently build your own PC and enjoy a personalized and high-performing computer system. Thanks for reading this post. I hope I helped with your project, if you have any further questions feel free to ask them in the comment section below.